Buy now, pay later
Buy now, pay later

Enjoy your Lightswing® right away

30 days to change your mind

So you have time to think about it

Order before 4pm for same day shipping

We'll prepare your order the same day

You need this for the Lightswing® mounting.

Ready to hang the Lightswing® at your home? Make sure you are well prepared and have the right tools at hand. We have listed everything you need below.
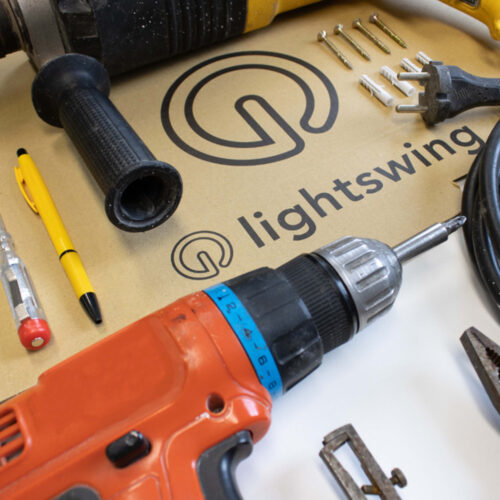
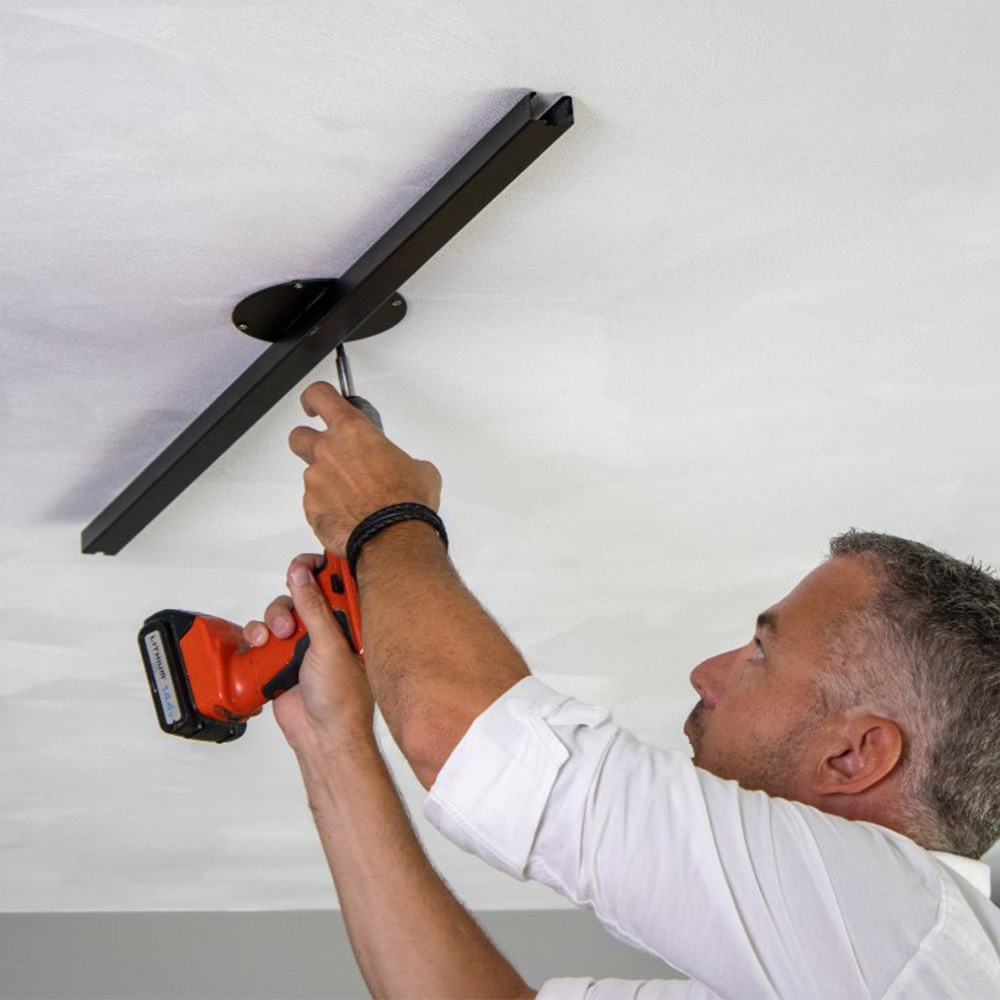
tools for mounting the Lightswing

You will need these tools.

To attach the Lightswing® to your ceiling, it is useful when you already have the following tools ready:

  1. A fitting screwdriver. You need this to attach the power wires to the connector of the Lightswing®. In addition, you can use the fitting screwdriver to attach your lamp to the Quick Release of the Lightswing®.
  2. Marker and pencil. You can use a pencil to draw on the ceiling where the drill holes should be. You use a marker to mark on your lamp cord how high the lamp should hang.
  3. A stripping pliers. You use it to cut the cord at the right height. In addition, the stripping pliers are ideal for stripping the lamp cord so that the power wires become visible and can be screwed into the crown stone of the Quick Release.
  4. Cordless screwdriver/screwdriver. You need this for screwing the surface-mounted ring and / or the Lightswing® to the ceiling. This can also be done with the help of a cordless screwdriver. You can also use the screwdriver to unscrew the screws in the Quick Release.
  5. A drill. You need the drill to drill 4 holes in your ceiling. You can conveniently draw the position where the holes must be drilled using the drilling template that is included free of charge with the Lightswing®.

Buy the right screws and plugs.

The range of screws and plugs is enormous. When buying screws and plugs to mount the Lightswing® you should pay attention to a few things. The right choice depends first of all on your ceiling type. For a plaster ceiling you need different plugs than for a concrete ceiling so, match the right plugs well to your ceiling type.

Suitable screws for the Lightswing® must meet two things: the screw head must be flat with a maximum head width of 7mm. In addition, it is important to match the screws to the plugs you use. Take a good look at the thickness and length of the screw.

Good preparation…

Is half the battle! Have you gone through the manual, collected the right tools and bought screws and plugs? That’s great! You’re ready to attach the Lightswing® to your ceiling!

View the (online) manual.

Read the Lightswing® manual in advance. This manual can be found via www.lightswing.co.uk/manual. This explains per step how the assembly of the Lightswing® works. In addition, you will also find useful instruction videos in this manual that show you the steps of assembly. The instructional videos can also be  found on  Lightswing®’s YouTube channel.

Would you rather have a paper manual at hand? We have also made those for you. You can view and download the PDF manual via this link PDF manual Lightswing®.